Kipps.AI integration with WordPress
Kipps AI chatbot and WordPress website integration blog

About WordPress
WordPress Website Builder is a versatile and powerful platform ideal for creating any type of website, from blogs to e-commerce stores. Known for its flexibility, it offers a vast library of themes and plugins, allowing users to customize their sites extensively. The intuitive block editor makes designing and updating content straightforward, even for beginners. WordPress supports responsive design, ensuring sites look great on all devices. With robust SEO tools, integrated blogging, and extensive e-commerce capabilities through plugins like WooCommerce, it caters to diverse needs. Backed by a large community and abundant resources, WordPress is a top choice for scalable, professional websites.
Steps
Log in to your WordPress account, and then:
- Go to the Dashboard.
- Click Plugins > Add New.
- Search for “WPCode”
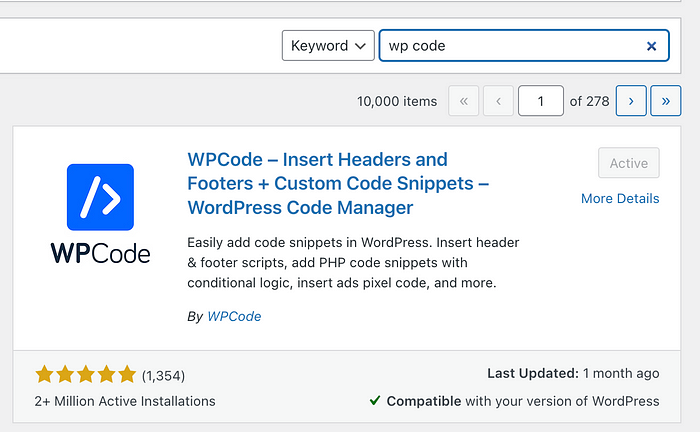
4. Install the “WPCode — Insert Headers and Footers + Custom Code Snippets — WordPress Code Manager” plugin, then click Activate.
If you want to add chatbot to all your website pages, follow these steps -
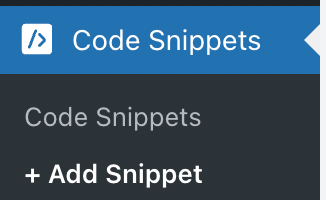
- After WPCode plugin installation, you’ll see “Code Snippets” in plugins section
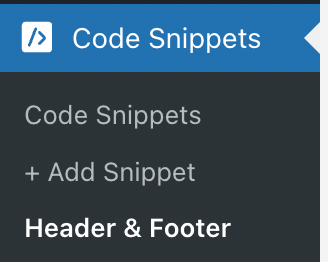
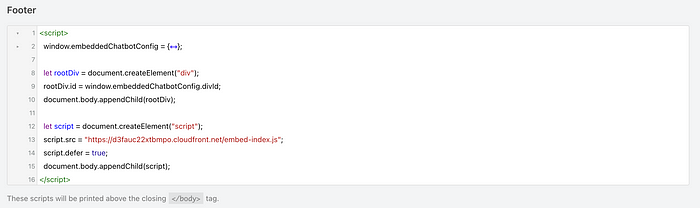
2. Select Header & Footer section and paste your kipps embedding script in footer section.
If you want to hide KIPPs chatbot from some of your pages, follow these steps -
- Select “+ Add Snippet” section
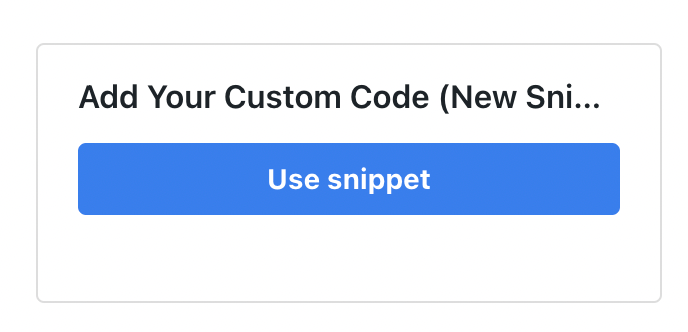
2. Click on add your custom code card on right side
3. Select Code Type as “Universal Snippet” and paste your kipps code embedding in Code Preview section.
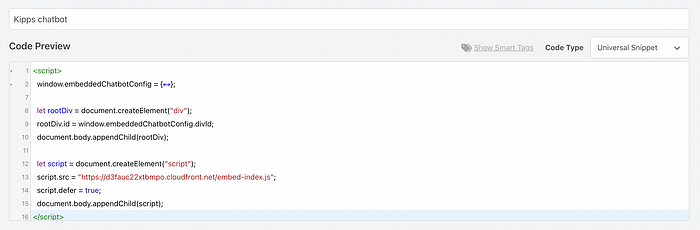
4. Scroll down and under “Smart Conditional Logic” select condition as “Hide” then add page urls that you want to hide.

5. When configuration is complete, then activate and save the snippet

6. Now, you can test KIPPs chatbot on bottom right of your website.
👉 For more information about Kipps.AI follow us on Linkedin and you can sign-up on Kipp.AI here